Here is another video tutorial only. There is no tutorial with written instructions included, although the directions in the video are very good and easy to follow.
If properly created, paper baskets & paper bag baskets can prove to be extremely enjoyable to make.
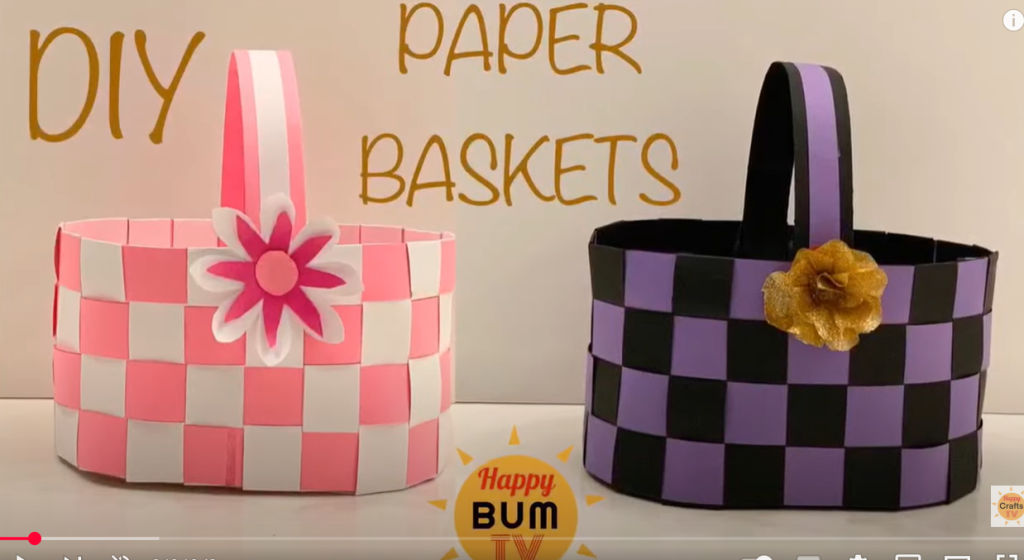
Whether it is for an Easter basket, Halloween basket, Christmas basket, New Year basket or just for home decoration, here is how you can make a woven paper basket for any occasion.
To personalize the basket for Easter, use pastel-colored paper strips and add decorative eggs or bunny cutouts. For Halloween, opt for orange and black strips, and consider gluing small ghost or pumpkin shapes on the sides. For Christmas, use red and green paper, and embellish the basket with tiny bells or snowflake stickers to enhance its festive appeal.
Click Here if the above video doesn’t play on your device. You will be redirected, in a new tab, to watch the video at YouTube.
Take pieces of colored construction paper, choose an interesting pattern, and try twisting and turning it, the result will give a paper a new and really tasteful appearance.
There are two ways in which this can be done: By using paper basket craft folding method, or by weaving a paper into a basket.
But to create both these things you will need more than just a piece of paper. You will also need instructions on how to go about making the paper basket and a template to go with it.
Paper basket making can be easy to do, or difficult, solely depending on the kind of design template you choose.
It is possible to use paper baskets for any occasion, but you should ensure that they are affixed firmly so that they will be able to hold a few things and not fall apart.
Paper baskets often fall into the category of children’s crafts, although they can be used by both your kids and you.
If you know how to put these baskets together well, then you can use them for any kind of celebration from Christmas to Easter to Thanksgiving to birthdays.
So, would you be interested in creating a paper basket that is simple to learn?
I am confident that you would be!
- Take a color printout of an easy basket pattern from a website of your choosing. Keep it basic at first, in order to make sure that the first-timers who aren’t familiar with the process are not overwhelmed.
- It would be ideal if your printer could print the documents on the card stock or thick paper, otherwise you could glue the regular printout onto a thicker sheet of paper.
- Gently now cut the printout in the basket shape. To have a neat cutout use a sharp edged blade. For novices, select a simple design that does not necessitate you to have good cutting of the design or else you’ll get tired of getting the ideal shape for the basket.
- Create an outline along the entire perimeter. When creating the outline place the sheet on a hard surface and keep your hands clean so that no marks are left on the sheet. If this occurs then the creases become dirty and spoil the whole outline.
- Basket sides should also be folded, as per the design. Fold should emerge on the right side in upward orientation.
- Tabs should be aiming towards the internal section of the basket. Your basket begins taking proper shapes here onwards, go gradually about this procedure to assure all folding is in suitable placement and there are no crimping effects on the sheet.
- Apply gum to the adjoining side. Glue sticks are a better option as they are a neat solution and deliver a clean appearance overall.
- Stick the handle of the basket at the top end, overriding the margins. Let the entire basket dry up. 24 hours is the minimal time you should allow for drying.
- Thereafter you are free to fill the basket with all the items you would like to use. Use it carefully and not place anything heavy in it or else the basket may tear.
Paper Crafting in General
There are a variety of paper crafts that can be made, and you can make them in any way you desire.
From complex to simple, from opulent to frugal, from elegant to simple.
The choice is entirely up to you.
There is a lot of potential with paper crafts, and that is what makes them so attractive.
It’s a medium that allows you to let your imagination take off, thereby freeing your creativity.
Many Different Options
Paper crafts range from rubber stamping to scrapbooking to origami to two- and three-dimensional art forms such as paper cutting and ancient forms of paper folding.
There is no doubt that tools and techniques dating back countless centuries are still being used today, but even still, we as individuals carry on the tradition of being creative in coming up with our own methods and styles.
Getting Started
If you’re looking to get started with paper crafts, you’ll need to ask a few questions before you get started.
All the basic materials are available in arts and crafts supply stores, however, the choices can be overwhelming for a newbie. However, you should ask a few questions before you make your decision.
Answers to the questions will guide you step by step:
- What are your primary interests when it comes to paper crafts?
- The first project that you will take on will be what?
- Would you like to save this project for posterity? Or, do you intend using this only as a trial?
Paper and Ink Types
Last but not least, your response to the last question will determine the type of paper you’ll get.
As the name implies, paper crafts are crafted from paper as their main component.
As an artist, you will be able to choose either archival papers or non-archival papers.
It is the first that is meant for long-lasting projects, while the latter may be used for projects you don’t mind abandoning in time.
What you need to remember is that the type of paper you choose, will invariably dictate the other supplies that will be used with it..
Using ink that does not adhere to archival paper would be like using unarchival paper with archival ink. It is important that the project is consistent throughout.
Where to Begin
When it comes to the types of projects you can try – where do you even begin?
In case you want to get started with a very simple project that could end up being professional in its own right, try rubberstamping.
In this papercraft, the underlying purpose is to use stamps to add pattern and dimension to paper.
A combination of patterns, color combinations, and use of space will help you tap into your creativity. It’s also relatively straightforward to learn and is an ideal instrument for experimentation.
Consider Rubber Stamping
It is worth mentioning that rubber stamping is a less complicated process than scrapbooking, which can seem overwhelming to some people.
Are You More Ambitious?
Paper crafts include origami, also known as paper folding, along with collages, custom cards, and even paper-cutting, a craft that was first practiced in Ancient China some 1,400 years ago.
Cut-outs are also interesting to use in other projects, such as scrapbooking, collages and shadow boxes, as they can be readily adapted to any content. Each of these are a great example of contrast.
There are dozens of ideas beyond the ones mentioned above though, not to mention the fact that there are hundreds of combinations.
Wrap Up
Today, papercraft continues to evolve, and it is not confined to only one kind. There is an increasing trend in the art world to embrace the medium, while adapting it to use new technologies and tools, while also staying true to its traditional defining principles.
Thus, it is likely that with time and how much experience you have with paper crafts, whether you are just starting out or interested in becoming a professional, you will come up with your very own way of pursuing paper crafts. A distinctive technique, shortcut, or other tool by which you identify your craft as yours. It seems as if the possibilities are limitless.
It is possible to find free craft projects for everyone from beginners to someone who has made crafts their whole lives.